
SHOPIFY SETUP
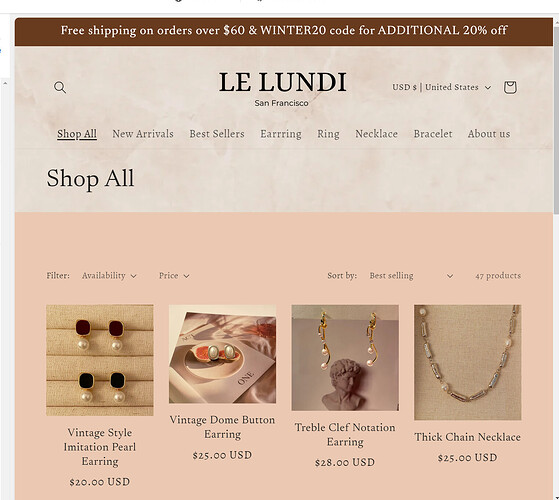
When customers land on your Shopify
store, the way you organize your products determines how easily they can find
what they’re looking for. Imagine walking into a physical store where items are
scattered everywhere without order shoppers would leave almost immediately.
That’s exactly what happens in eCommerce when your collections aren’t set up
properly.
Collections are the backbone of product organization in Shopify. They allow you to group related products together, making your store easy to browse, more professional, and more conversion-focused. Whether you’re running a clothing boutique, electronics store, or niche product shop, your collections can dramatically improve user experience and sales.
The
good news? You don’t have to start from scratch. With the right strategy, you
can migrate to Shopify while preserving your SEO value and in some cases, even improving it.
Think of it like moving from one house to another: if you pack carefully, label
everything, and set up the new place strategically, you won’t lose a thing (and
you might even upgrade your living space).
This
guide breaks down a step-by-step process for migrating without SEO loss
covering essentials like URL redirects, metadata preservation, structured data,
sitemaps, and monitoring performance after the move. By the end, you’ll not only
feel confident about switching to Shopify but also know how to turn migration into a growth opportunity rather than a
setback.

In this guide, we’ll cover everything
you need to know about Shopify collections setup, from creating smart
collections to optimizing them for SEO and conversions. By the end, you’ll know
how to organize your store like a pro.
What Are Shopify
Collections?
Collections are curated groups of
products within your Shopify store. They can be based on:
- Categories (e.g., “Men’s
Shirts,” “Women’s Shoes”)
- Seasonality (e.g., “Winter
Essentials”)
- Themes (e.g.,
“Eco-Friendly Products”)
- Best-Sellers
or Discounts
(e.g., “Top Rated” or “Under $50”)
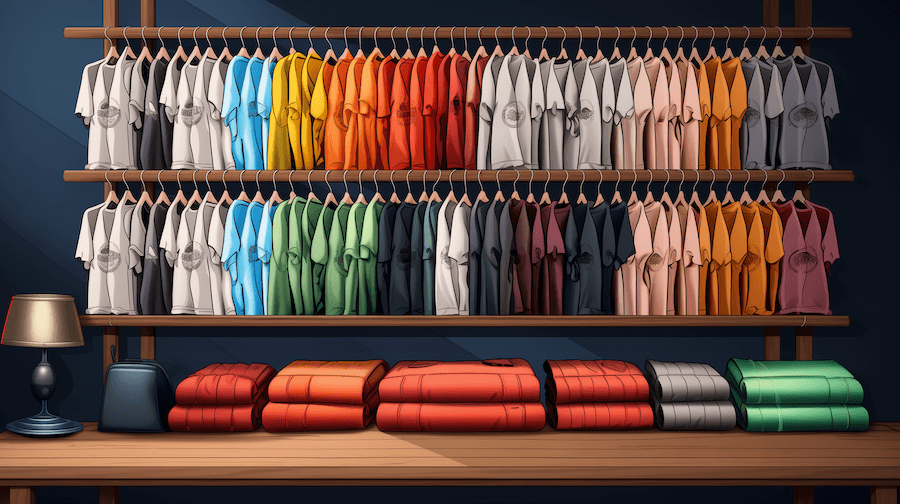
Think of them as virtual aisles in your
online store, guiding customers to the right products.
Types of Shopify
Collections
Shopify offers two main types of
collections:
- Manual
Collections
- Products
are hand-picked and added manually.
- Ideal
for special promotions, featured products, or curated selections.
- Example:
“Staff Picks” or “Holiday Gift Guide.”
- Automated
(Smart) Collections
- Products
are automatically grouped based on set conditions.
- Conditions
can be price, vendor, tags, inventory stock, etc.
- Example:
All products under $20, or all products tagged “Summer.”
Tip: Use automated
collections for scalability and manual collections for unique campaigns.
Step-by-Step Guide:
How to Create Shopify Collections
 |
Watch How To Add Collections To Shopify Homepage via YouTube
- Log
in to your Shopify admin.
- Go
to Products > Collections.
- Click
Create Collection.
Step 2: Name Your
Collection
- Choose
a clear, keyword-rich name (e.g., “Men’s Running Shoes” instead of
“Shoes”).
- The
title will impact both SEO and customer navigation.
Step 3: Write a
Collection Description
- Provide
a short, engaging description.
- Include
target keywords for SEO.
- Example:
“Discover our latest range of eco-friendly tote bags made with sustainable
materials.”
Step 4: Select Manual
or Automated Collection
- Choose
your preferred method (manual or automated).
- For
automated collections, set the conditions (e.g., Price is greater than
$50).
Step 5: Add an Image
(Optional but Recommended)
- Upload
a collection banner or product image.
- Helps
visually guide shoppers and boost branding.
Step 6: Organize
Collection Availability
- Decide
where the collection will be visible (online store, POS, apps).
Step 7: Save and
Review
- Double-check
products are correctly assigned.
- Save
the collection.

Optimizing
Collections for SEO and Conversions
1. Use Keywords in
Collection Titles
- Example:
Instead of “New Arrivals,” use “New Women’s Dresses 2025.”
2. Add Compelling
Collection Descriptions
- Write
content that describes the collection’s value.
- Insert
long-tail keywords naturally.
3. Optimize
Collection Images
- Use
high-quality images.
- Compress
for speed without losing quality.
- Add
alt text with keywords.
4. Enable Collection
Filters
- Make
browsing easier by adding filters (size, color, brand, price).
- This
reduces bounce rates and boosts conversions.
5. Feature Best
Products First
- Reorder
your collections so best-sellers appear first.
- Shoppers
are more likely to buy what they see first.
Tips for Organizing
Your Store Like a Pro
- Limit
Overlapping Collections: Avoid confusing customers with
duplicate or redundant categories.
- Seasonal
Updates:
Create temporary collections for events, holidays, or seasons.
- Cross-Sell
Within Collections: Suggest related products within the same collection.
- Use
Tags Strategically: Tags are the foundation of automated collections. Stay
consistent with tagging.
- Test
Navigation:
Pretend to be a shopper and see if you can find products quickly.
Common Mistakes to
Avoid
- Using
Generic Collection Names
- Bad:
“Clothing”
- Better:
“Women’s Summer Dresses”
- Ignoring
SEO for Collections
- Don’t
leave descriptions blank.
- Overloading
a Collection
- Having
500+ items in one collection makes browsing overwhelming.
- Not
Testing Mobile Navigation
- Remember,
most customers shop from their phones.
Conclusion

Think of your collections as the foundation
of your store’s architecture. If they’re built well, your entire store runs
smoother, customers are happier, and conversions increase naturally.
Migrating
your store to Shopify doesn’t have to mean sacrificing the SEO foundation
you’ve worked so hard to build. In fact, with careful planning and execution,
the move can become a springboard for better
rankings, faster site performance, and more conversions. The
keys lie in protecting your URLs, preserving metadata, leveraging Shopify’s
SEO-friendly features, and monitoring closely after launch.
Remember: migration is not a one-day task it’s
a process. Even after the switch, keep refining your SEO strategy with
Shopify’s tools and apps, optimize your content, and build links to your new
store. If done right, your store won’t just survive the migration it will
thrive.


0 Comments
We are happy to see your feedback